What is a Bowline Knot and Why is it Essential in Boating?
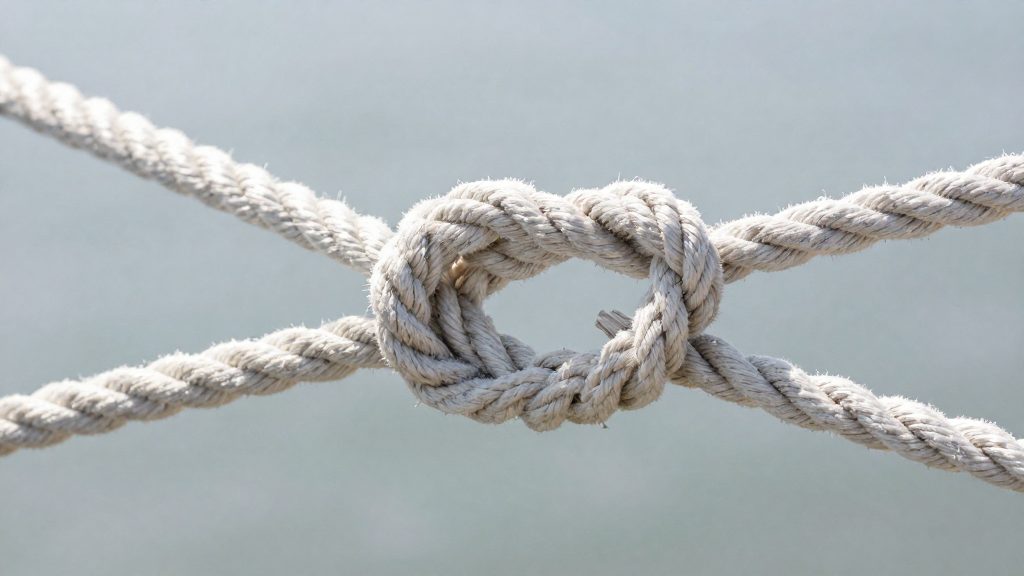
The bowline is a fundamental knot in recreational seamanship, defined by its ability to create a secure, fixed loop at the end of a line. Unlike knots that tighten under pressure, the bowline remains stable without slipping or jamming. This characteristic is vital for safety, as the loop releases easily once the load is removed, allowing for quick and clean untangling. This reliability makes it a standard tool for mooring, anchoring, and rescue operations on board.
From a structural perspective, understanding the knot’s impact on line integrity is essential for safety planning. A standard bowline retains approximately 60% to 75% of the rope’s rated breaking strength. This represents a reduction in linear line capacity compared to the unknotted line. While this reduction is acceptable for many temporary tasks, it is significantly lower than that of an eye splice, which preserves a higher percentage of strength. Therefore, for permanent, high-strength rigging, a splice is generally preferred. However, for the dynamic and temporary needs of recreational boating, the bowline offers the optimal balance of strength and ease of use.
It is important to note that the bowline is designed for axial loading. It is not rated for heavy ring-loading or multi-directional cross-loading across the eye, as such forces can capsize the knot into a slip knot. Additionally, on slick modern synthetic lines, the bowline may be prone to slipping under cyclic loads, often requiring a backup stopper knot. Properly tied, the working end should terminate on the inside of the loop to maintain security and avoid snagging on deck hardware.
How to Tie a Bowline Knot Step by Step
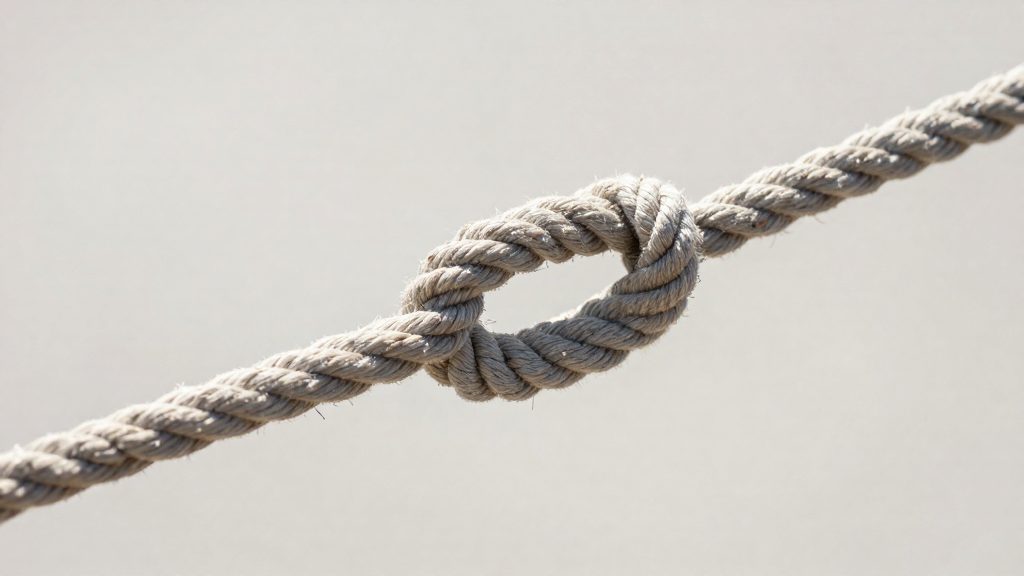
Forming a bowline begins with creating a small initial loop in the standing part of the line, often referred to as the “hole.” This foundational structure must remain stable while you manipulate the working end. The traditional mnemonic guides the sequence: “rabbit out of the hole, around the tree, back down the hole.”
First, take the working end (the “rabbit”) and pass it up through the initial loop from the underside. This action establishes the core of the knot. Next, route the working end behind the standing part (the “tree”). This specific path is critical for the knot’s integrity; passing the end in front of the standing part will result in an insecure configuration that may slip under load. Finally, bring the working end down and through the initial loop again, completing the “back down the hole” motion.
Once the path is complete, dress the knot by pulling the standing part and the working end in opposite directions to tighten the structure snugly against the loop. Ensure the working end terminates on the inside of the finished loop. This placement prevents the tail from snagging on deck hardware, pilings, or rigging, and maintains the knot’s security. A properly dressed bowline should sit flat and symmetrical, with no twists in the line.
| Step | Action | Mnemonic Cue |
|---|---|---|
| 1 | Pass working end up through initial loop | Rabbit out of the hole |
| 2 | Route working end behind standing part | Around the tree |
| 3 | Pass working end down through initial loop | Back down the hole |
| 4 | Tighten and dress knot | Secure termination |
Common Bowline Mistakes and How to Avoid Them
Structural errors in loop formation are the primary cause of slippage or jamming under load. The most frequent mistake is routing the working end incorrectly. If the working end exits the loop on the outside rather than terminating on the inside, the knot loses its structural integrity. This misalignment prevents the loop from seating properly against the standing part, creating a weak point that can fail under tension. Always verify that the working end lies flat and secure within the loop’s interior before applying any load.
Another critical error involves insufficient turns around the standing part. The traditional mnemonic describes passing the working end up through the loop, behind the standing part, and back down through the loop. Skipping or rushing this “around the tree” step results in a loose knot that can shake loose under cyclic loads. Ensure the working end makes a complete, clean pass behind the standing part to create the necessary friction and stability.
Finally, tightening the knot before the full loop is formed leads to jamming. Many boaters attempt to cinch the knot while the loop is still small or distorted. This compresses the line fibers unevenly, making the knot difficult to untie after loading. Instead, form the complete loop structure first, ensuring all strands lie parallel and flat. Only then should you dress the knot and apply tension. This sequence ensures the knot releases easily once the load is removed, maintaining the bowline’s key advantage over other fixed loops.
When Should You Use a Bowline Versus an Eye Splice?
Selecting the correct loop configuration depends primarily on whether the connection is temporary or permanent and on the required strength retention. The bowline is the standard choice for temporary applications, such as securing a fender, attaching a tow line, or connecting a dinghy. It creates a fixed loop that does not slip under tension but releases easily once the load is removed. However, this convenience comes at a cost to structural integrity. A standard bowline typically retains only 60% to 75% of the rope’s rated breaking strength. This significant reduction in linear line capacity makes it unsuitable for critical, high-stress permanent rigging.
For permanent high-strength eye configurations, an eye splice is the preferred method. Splicing involves weaving the line back into itself, which preserves 90% to 95% of the line’s breaking strength. This superior strength retention makes splicing the standard for permanent rigging, such as shrouds, stays, or permanent mooring lines where maximum load capacity is required. While splicing is more time-consuming and requires specific line construction (typically three-strand or braided lines), the strength gain is substantial.
| Feature | Bowline | Eye Splice |
|---|---|---|
| Strength Retention | 60% – 75% | 90% – 95% |
| Application Type | Temporary | Permanent |
| Ease of Release | Easy | Difficult (requires cutting) |
| Best For | Fenders, tow lines, temporary ties | Rigging, permanent moorings |
How to Secure a Bowline on Modern Synthetic Marine Lines
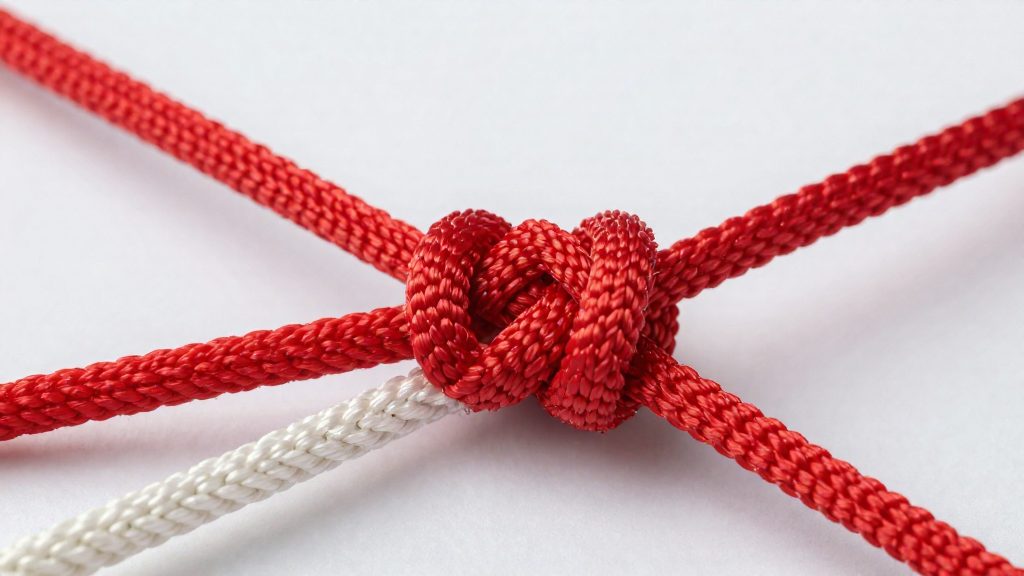
High-modulus synthetic lines, such as UHMWPE variants like Spectra or Dyneema, present unique challenges for traditional knotting. Their slick, low-friction surfaces reduce the grip that a standard bowline relies on to maintain tension. Consequently, a standard bowline tied in these materials is prone to slippage or shaking loose under cyclic loads, such as those encountered during prolonged anchoring or heavy towing. To mitigate this risk, you must implement a backup stopper knot at the base of the bowline. This secondary knot acts as a mechanical barrier, preventing the working end from pulling completely through the loop if the primary knot begins to loosen.
When working with these slick lines, consider using a water bowline configuration as an alternative. This variation secures the working end differently, often by tucking it more firmly or adding an extra turn, which increases friction and stability compared to the standard form.
Always inspect the knot after initial loading to ensure the backup has not shifted. If the line is subjected to multi-directional cross-loading, be aware that the bowline can capsize into a slip knot, further compromising its integrity.
Best Boating Practices for Inspecting and Untying Loaded Lines
Before attempting to untie any knot, you must first ensure the line is completely free of tension. A bowline is designed to hold securely under load, but it is not intended to be manipulated while bearing weight. Always verify that the tension release is complete by gently pulling on the standing part to confirm no residual force remains. If the line is still taut, the knot may be under stress, making it difficult to loosen and potentially dangerous to handle.
Once the load is removed, perform a visual inspection for signs of wear or damage. Check the rope fibers for fraying, cuts, or heat damage, particularly at the points where the line bends around the standing part. Inspect the loop itself to ensure it has not deformed or collapsed. If the line shows significant wear, replace it before reusing it, as compromised integrity can lead to failure under future loads.
When untying, focus on preventing jamming. Although a properly tied bowline releases easily once the load is off, slick synthetic lines can sometimes tighten under cyclic stress. To release the knot, gently pull the working end to loosen the collar, then work the loop open. Avoid yanking or twisting the line, which can cause the knot to bind. If the knot feels tight, apply gentle, steady pressure to the working end to break the friction before fully opening the loop. This controlled approach ensures the knot disassembles smoothly without damaging the line or risking a sudden slip.
Frequently asked questions
Is a bowline strong enough for heavy mooring lines?
A standard bowline retains approximately 60% to 75% of the rope’s rated breaking strength, making it suitable for temporary tasks but less efficient than an eye splice for permanent, high-strength rigging.
Why does my bowline slip on modern synthetic ropes?
Slick high-modulus synthetic lines like UHMWPE are prone to slipping under cyclic loads, so you should add a backup stopper knot or use a water bowline to ensure security.
How should I finish tying a bowline to prevent accidents?
Ensure the working end terminates on the inside of the loop to maintain structural security and avoid snagging on deck hardware or pilings.