What is a clove hitch used for?
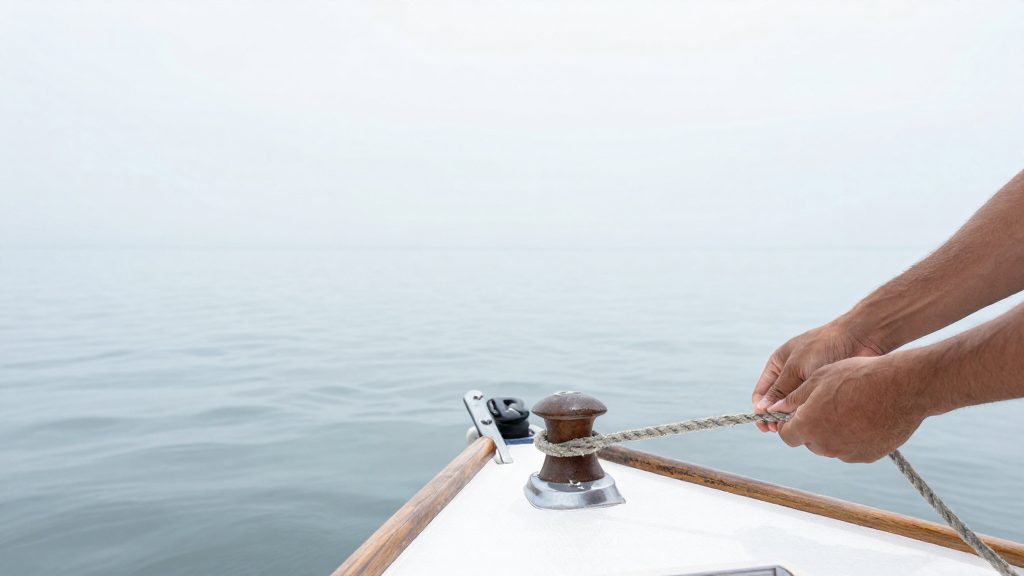
The clove hitch is one of the most common knots aboard a recreational boat. It attaches a rope to an object such as a post, a rail or a pole, and it can also join two ropes together. It is quick to tie and quick to undo, which is its main appeal: you can slide it along the object or adjust its position without starting over.
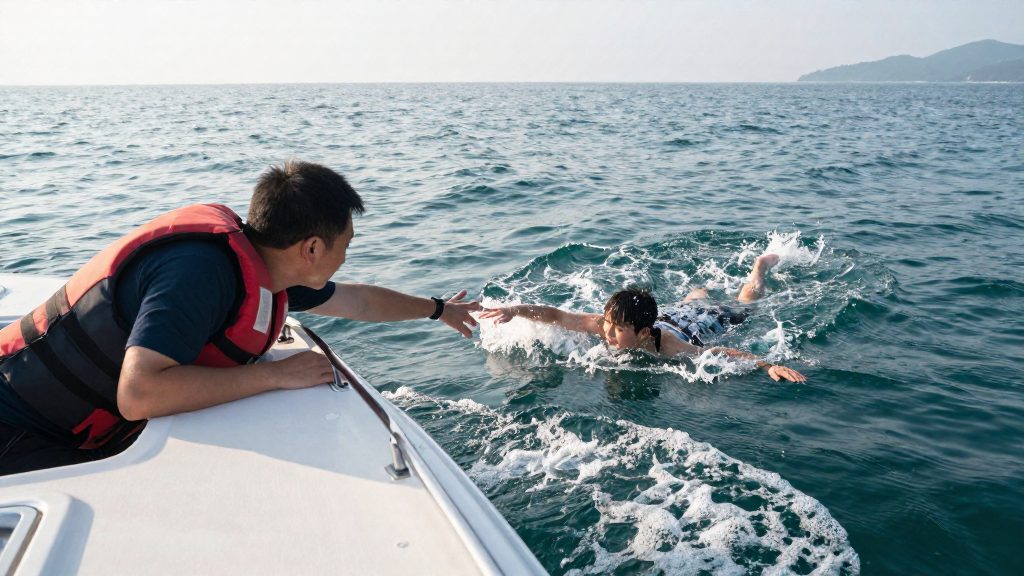
That ease comes with a trade-off. The clove hitch is a temporary hitch for a load you can see and correct. It suits light to moderate loads, and only where you can monitor it and adjust it as needed. It is not a substitute for a properly secured mooring, and it has no place in any situation where its failure would leave a boat adrift or put someone in the water.
What do you need before you start?
Take a few minutes to check the setup before tying anything.
- The rope: inspect it for chafe, cuts or stiffness. A worn line can fail even when the knot is tied correctly.
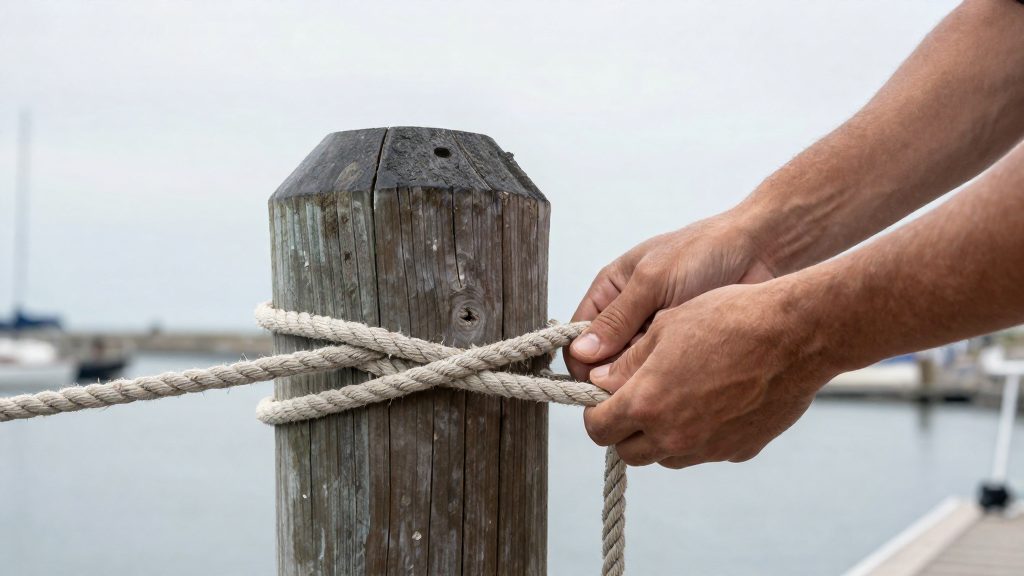
- The object: choose a round, regular post, pole or rail. An irregular shape makes the knot less reliable.
- The working end: keep enough free rope beyond the knot to finish the hitch and leave a tail. A short end is hard to control and easy to lose.
- Your position: work where you can see both ends and the turns as they form.
Once you know what the knot is for, you can decide whether it is the right knot at all. If the answer is unclear, read the section on heavy loads below before you go further.
How do you tie a clove hitch step by step?
The steps are simple, but the order matters. Keep the working end under control as you go, so the turns do not slide off the object.
- Pass the rope over the top of the object and bring it around behind, so that it makes a first turn.
- Wrap the working end around the object a second time, crossing over the first turn. The two turns now form an X.
- Loop the end under the second turn and over the top of the object again.
- Tuck the end under the last turn, so that it finishes between the two legs of the X.
- Pull both ends tight. Keep a hand on the knot while you do so, so that it settles in its correct shape rather than shifting out of place.
Tightening both ends is important. A knot that is only partly tightened can look right and still move under the first real strain.
How do you know the knot is correct?
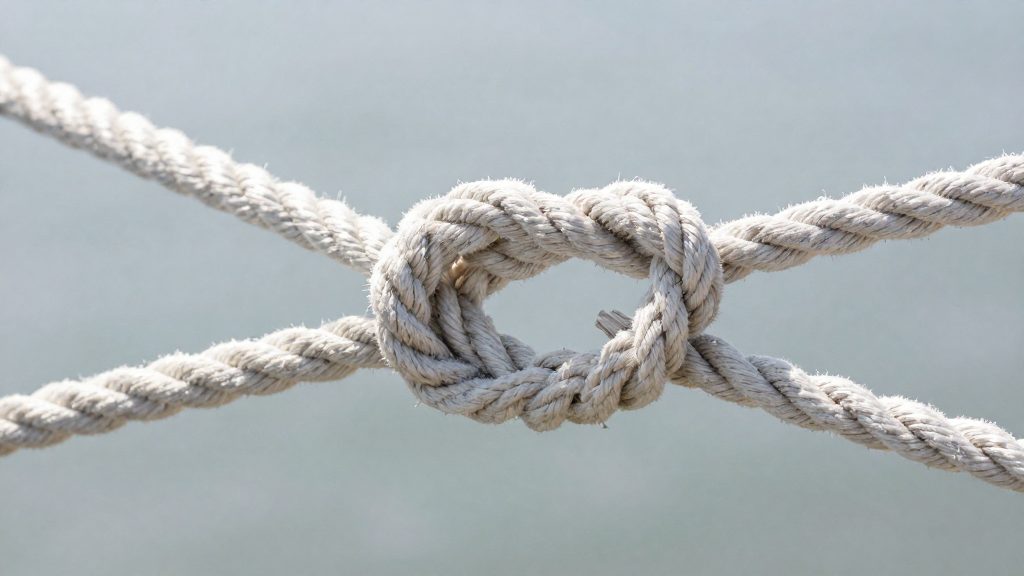
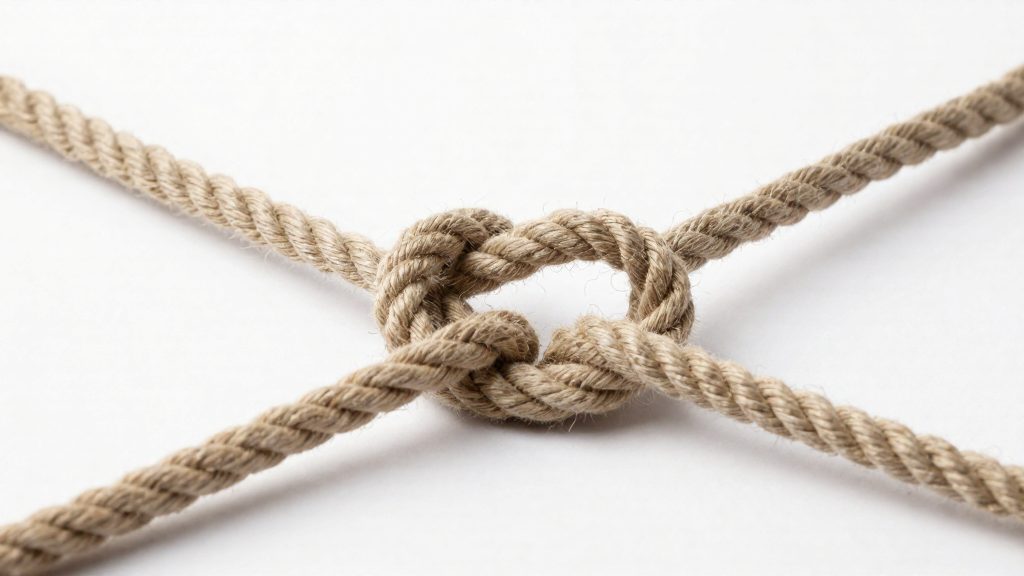
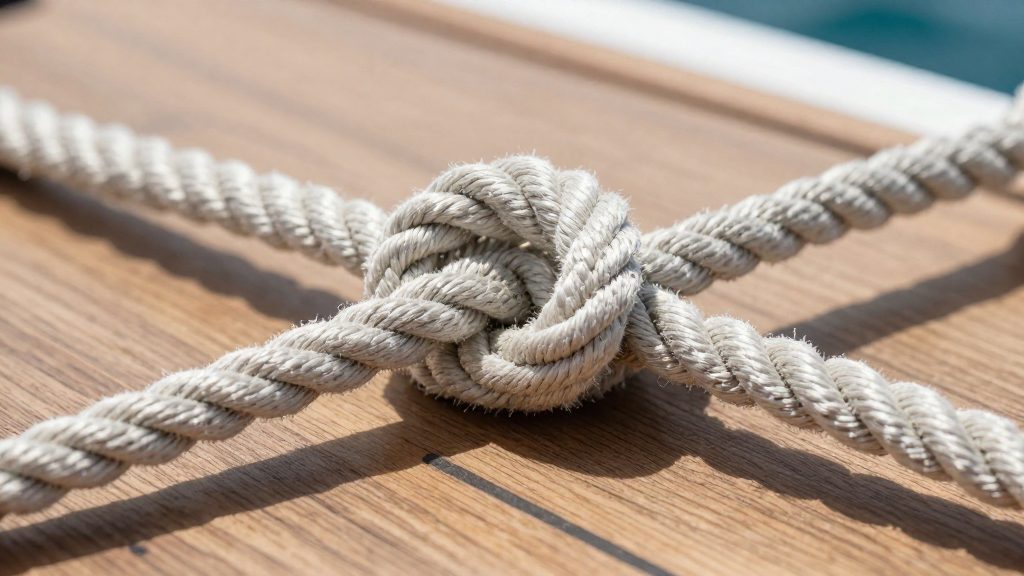
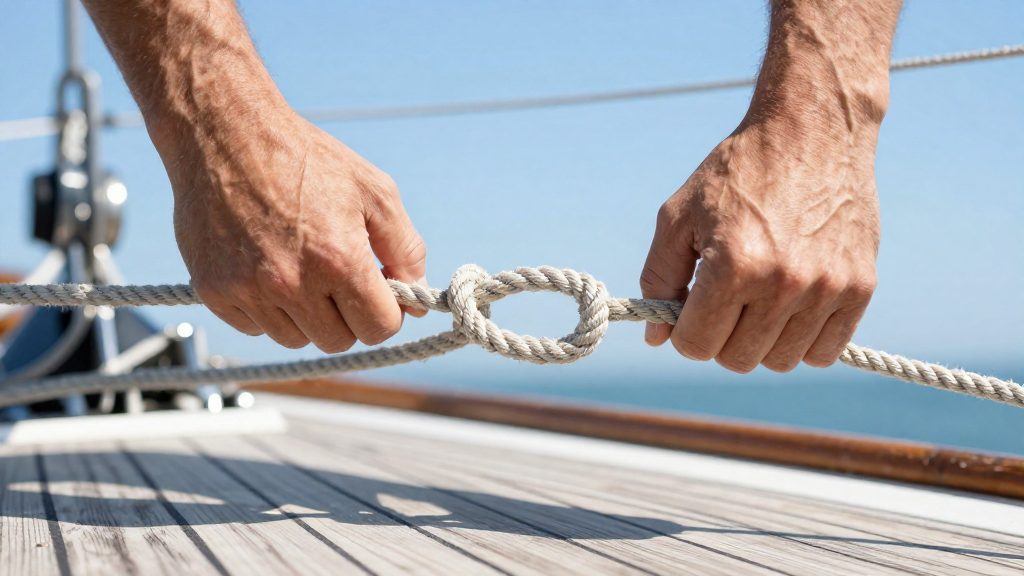
Look at the knot before you load it. The two turns should form a clear X, and the end should come out between the two legs of that X. If the end exits to either side of the X, the knot is not a clove hitch. Untie it and tie it again rather than trusting it.
This visual check is quick and worth doing every time, especially when you are tying in a hurry or in poor light. A knot that has been tied from memory without looking can still hold for a while, but it is more likely to loosen or work out of shape.
When does a clove hitch slip?
The knot can slip or work loose under heavy load. It can also loosen when the object it is tied to rotates, or when the object is irregular. A rope that goes taut and slack repeatedly can shift the turns gradually, even when the initial tie was correct.
Loads on a boat change constantly. Wind, waves, current and the rise and fall of the tide all alter tension on a line. A clove hitch that was secure when you tied it can therefore move while no one is watching. Check it after any change in weather or water level, and whenever the line has been under strain for some time.
Do not use the knot on a fitting that can turn, or on a shape that does not sit squarely against the rope. In those cases the turns can slide and the knot can lose its grip. If you are unsure whether the object is suitable, choose a different method.
Which knot is safer in heavy loads?
The clove hitch is not the right choice for heavy loads or for any line that must hold unattended. Its own limits are the reason: it is suited to light to moderate loads that can be monitored and adjusted. For heavier loads, or where a line will be left without supervision, use the method recommended by the maker of the line or of the fitting it is secured to.
Where the boat has a cleat, follow the cleat maker’s instructions for securing a line on it. Where a fitting, ring or post is part of a permanent mooring arrangement, its documentation and the advice of a qualified person are the correct guide. Do not improvise a substitute knot for a load you have not assessed.
How do you check and untie the hitch?
Check the knot at regular intervals while it is under load. Confirm that the turns still form an X, that the end still exits between the legs, and that the rope has not begun to chafe where it passes over the object.
To untie a clove hitch, first take the load off it. Ease the line or hold it with another line or fitting, so that the turns are no longer pulled tight. Then pull the working end back out from under the last turn and work the turns off the object. The knot is designed to come apart easily when it is not under strain.
If the turns have been pulled hard, they may be stiff. Work them loose gradually rather than forcing them, because forcing a stiff knot can damage the rope. Once the knot is off, coil the line and inspect it, especially where the knot sat, for chafe, flattening or kinks.
Finally, practise the knot in calm conditions before you need it. Tie it on a rail or a post with a spare length of line, check the X, and untie it several times until the steps feel automatic. A knot you can tie and check with confidence is much safer than one you learned only in a hurry.
Frequently asked questions
What is the difference between a clove hitch and a half hitch?
A half hitch is a single turn of the rope around an object, with the end passed through the loop. A clove hitch uses two crossed turns instead. Neither should be relied on alone for a load you cannot monitor.
Is a clove hitch the same as a cleat hitch?
No. A cleat hitch is the method used on a cleat, with turns around its horns and a finishing hitch. Follow the cleat maker’s guidance rather than substituting a clove hitch.
How can I practise the clove hitch safely at home?
Use a spare length of line and a rail or post. Tie the knot slowly, check that the end exits between the legs of the X, and untie it several times before you rely on it on the water.