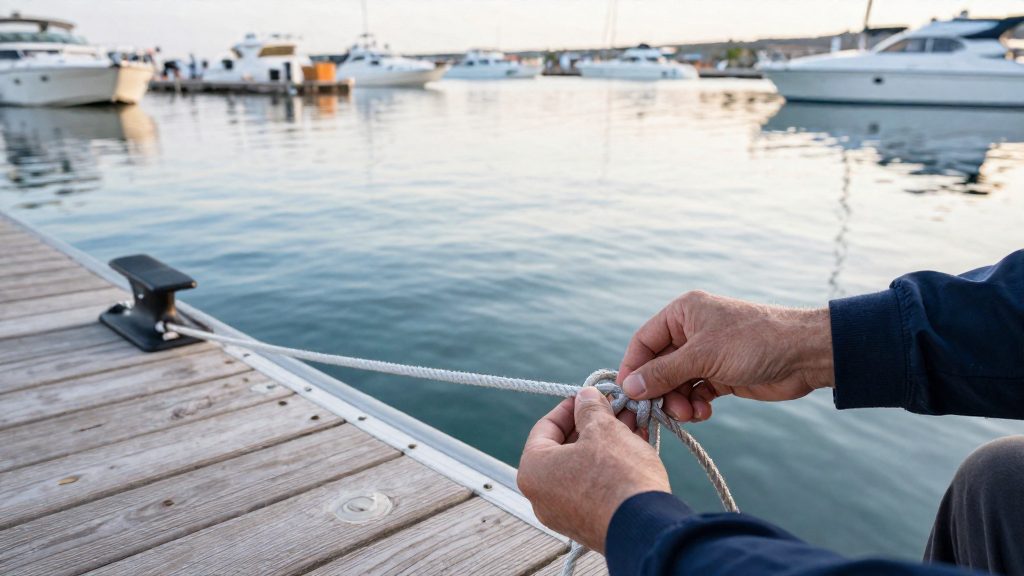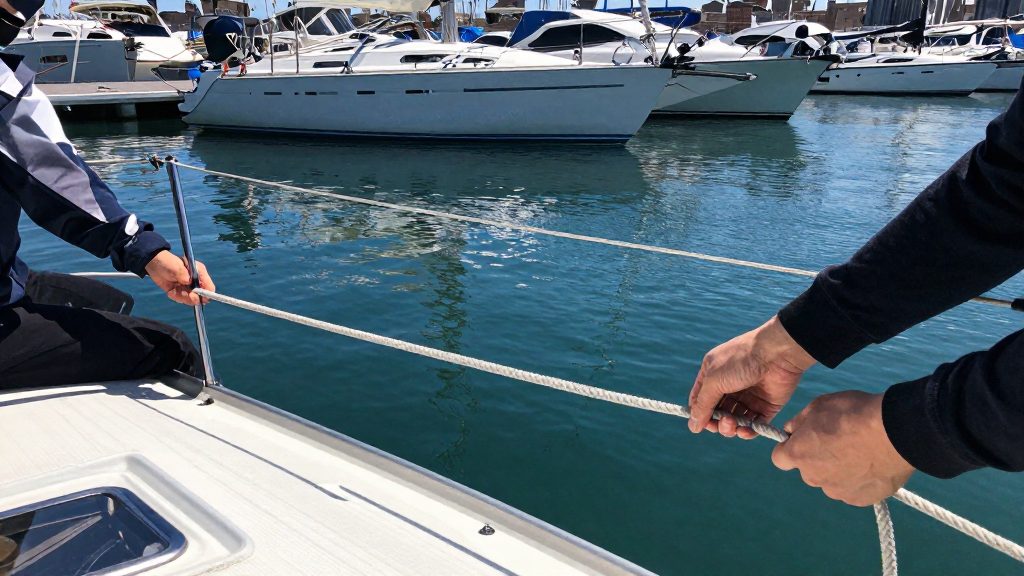
To coil a dock line properly, work the rope into loose loops in the direction that matches its lay, then finish with a secure hanging coil that runs out cleanly the next time you need it. Most three-strand dock lines are right-laid and should be coiled clockwise, because coiling against the lay gradually puts kinks into the rope. A correct coil keeps the line free of tangles when you cast off or secure in a hurry, protects the fibres and keeps the deck clear. The sections below explain how to check the lay, coil step by step, choose a different coil when needed and store the line between trips.
Why does coiling a dock line properly matter?
A dock line is only useful if it runs out freely. A line left in a loose heap on deck can catch a foot, snag a cleat or slide over the side when you are stepping off a finger pier. Repeated coiling against the lay sets kinks that stop the rope from lying flat and make it run badly through chocks and fairleads. A tidy coil therefore does three things at once: it keeps the line usable, it keeps the working deck clear and it extends the life of the rope.
The timing matters as much as the tidiness. When wind or current is pushing the hull off the dock, a line that runs out cleanly lets you release the boat in one smooth movement. A line that tangles at that moment turns a routine departure into a scramble, with hands and feet close to a tightening rope.
How do you check whether a line is right-laid or left-laid?
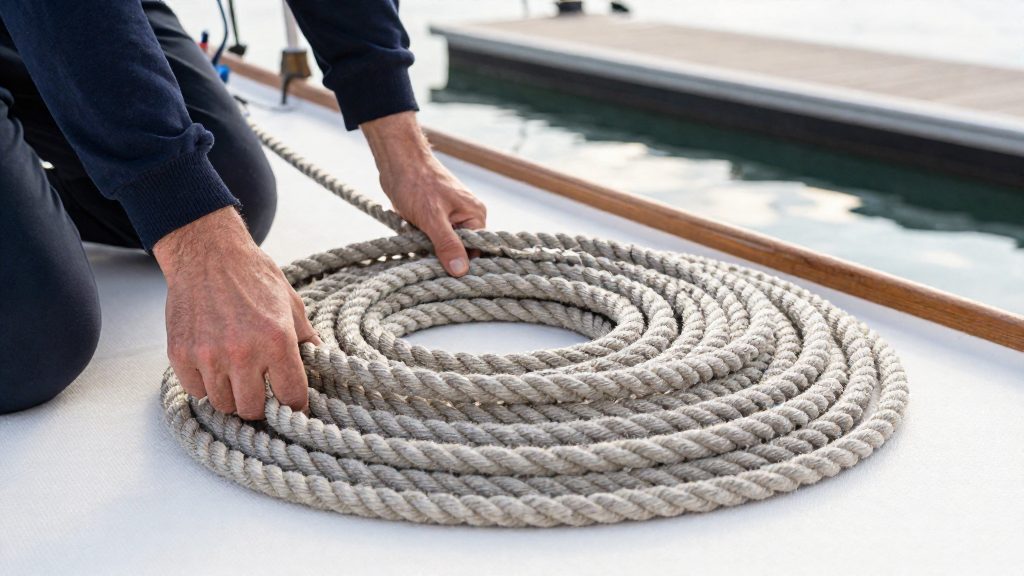
The lay is the direction in which the strands are twisted together. According to Pacific Yachting (2022), most recreational three-strand line is right-laid. To check, hold the rope horizontally in front of you: on a right-laid line the strands run from upper left to lower right. If they run from upper right to lower left, the line is left-laid and should be coiled counter-clockwise.
If you are unsure, use the coiling itself as a test. If a clockwise coil will not lie down without fighting you, the line is probably left-laid. Undo the coil and recoil it counter-clockwise. Once you know the lay, use the same direction every time, because a rope keeps its lay only when it is coiled the same way on each occasion. If your boat carries a mix of lines bought at different times, check each one, since they are not always laid the same way.
How do you coil a dock line step by step?
Before you start, make sure the boat is secured and the line is not under load. Keep your feet and body clear of the bight, and never wrap the line around your hand, arm or body: a line that tightens or runs out unexpectedly can cause serious injury. Hold the working end under control in one hand while you gather the rest.
- If one end is still made fast, for example to a cleat, start the coil at that fastened end. Work out any twists and kinks by hand toward the free end, so the line lies straight before you coil it.
- Coil the rope into your left hand, gathering it into a loose oval about 60 to 90 cm (2 to 3 feet) across and passing the line from hand to hand. Keep each loop flat and of similar size, turning in the direction of the lay: clockwise for right-laid line.
- When about 60 to 90 cm (2 to 3 feet) of the free end remain, make three binding turns around the top of the coil. Getmyboat (2019) describes these turns as counter-clockwise. They hold the coil together and are separate from the lay direction of the coil itself.
- Make a loop from the last 45 cm (about 18 inches) of the free end and tuck it through the top of the coil, above the binding turns.
- Pull the loose end to snug the loop against the wraps. Before you hang the coil, run your hand around it to check that no turn is crossed or twisted; a crossed turn shows up later as a snag when the line is run out.
- Hang the coil by the loose end, leaving that end slightly longer than the coil so it runs out cleanly. If the line ends in an eye, shackle or monkey fist, hold that end below your hand as you start, so the finished coil presents it correctly.
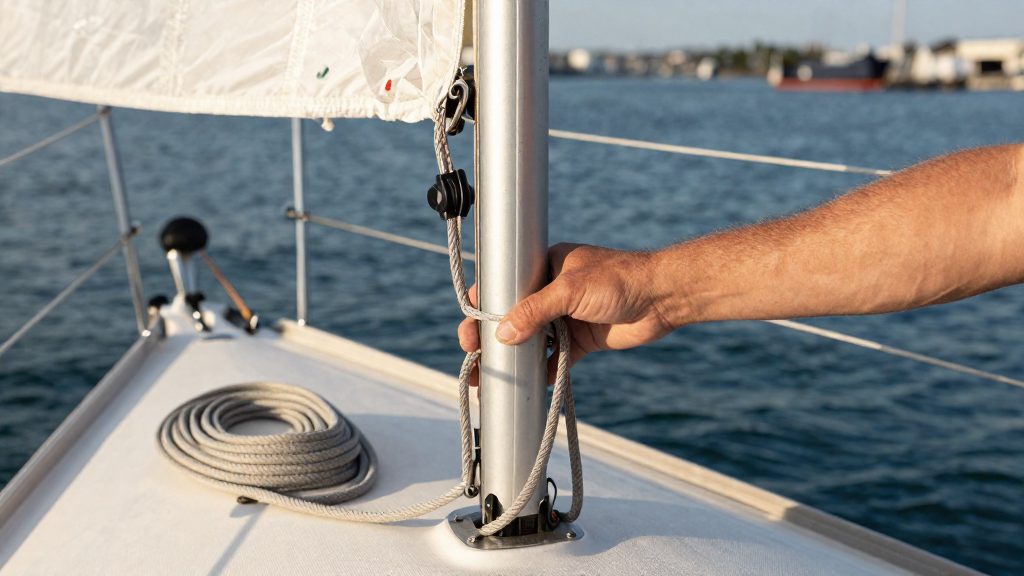
Hang the finished coil on a hook or in a stowage strap, in a dry and ventilated place clear of the walkway. Straps about 2.5 to 5 cm (1 to 2 inches) wide are generally easier on the line than narrow cord, and a loose coil on the deck should never be left where someone can trip over it.
When should you use a sea gasket coil instead?
The standard hanging coil suits lines you use often and want to hang up. A sea gasket coil suits a line that must stay in place, for example one that lives on a lifeline or rail, where an ordinary coil could shift. The method involves leading the line up and over the lifeline so the coil can be made up beneath it, and keeping the upper part of the coil secured so the weight stays on the fastened end.
The sources consulted describe the principle of the sea gasket coil but show the full sequence only in illustrations. Learn the steps from a demonstration or a seamanship manual before you rely on the method on board. The same applies to the looped coil, which suits loose line you want to keep ready, and the hitched coil, which is a secure way to prepare a coil for stowage.
What mistakes should you avoid when stowing lines?
Four errors come up repeatedly in practical guidance:
- Coiling without first removing kinks, which locks the kinks into the coil.
- Stowing line before it has dried. Damp rope in a closed locker can develop mildew and weaken.
- Leaving lines loose on deck, where they become a trip hazard and can run over the side.
- Keeping worn or chafed lines in service instead of replacing them.
A fifth habit prevents most of the others: coil each line as soon as it comes off the cleat, rather than leaving it to be sorted later, when it is wet, tangled and in the way.
How do you store and inspect dock lines between trips?
Let the line dry thoroughly, hang the coils off the deck in a ventilated place, and check the whole length rather than only the ends. Pay particular attention to the sections that rub on chocks, cleats, fairleads and the hull, because those areas wear first. Look for flat or hard spots, glazed or fuzzy fibres, cut or broken strands, and any stiffness that was not there before. Sun, salt water and repeated loading all shorten a line’s life. Where practical, rinse off salt and grit before stowing, since abrasive particles work into the fibres.
Replace a line when the wear is more than superficial, when a section is chafed or frayed, or when the line has held a heavy load and shows any damage. If you cannot confirm a line’s condition, replace it rather than trust it at the next mooring. The official sources consulted do not give a service life for dock lines, so follow the manufacturer’s documentation on care, use and replacement.
Frequently asked questions
Does the coiling direction matter for braided lines?
The clockwise rule applies to laid, three-strand line, which has a visible twist to follow. Braided line does not have the same lay, so follow the manufacturer’s documentation for that product.
Is there a Canadian rule that sets how dock lines must be stowed?
The official sources consulted do not specify a coiling method or a stowage rule for dock lines. Transport Canada’s Safe Boating Guide is the federal reference for boating safety in Canada; check its current edition at boatingsafety.gc.ca.
Can a line that has gone stiff from storage be saved?
Sometimes, if it is only dirty or was stored wet. Rinse it with fresh water, let it dry out of direct sun, and follow the manufacturer’s care instructions. If the fibres are hard, glazed or cut, replace the line.
How long should dock lines last?
The official sources consulted do not give a service life. Replace lines sooner if they show wear, chafe, sun damage or have held a heavy load, and follow the manufacturer’s documentation on expected life.