Resealing leaking deck hardware means removing the old bedding around a cleat, winch, stanchion base or other fitting, cleaning the surfaces thoroughly, and rebedding the fitting with a sealant suited to the material and to whether the piece may need to come off again. The job is straightforward in principle, but the leak you see inside the cabin often starts at a fastener hole that has let water into a cored deck. A fresh bead alone may not fix it, so the repair has to address the core, the fasteners and the bedding together.
Why do deck fittings leak?
Bedding compound ages, cracks, shrinks or loses adhesion, and a fitting moves slightly under load as the boat works in a seaway and lines pull on it. Each small gap becomes a path for rain and spray. Water tends to follow the fastener shanks downward rather than dripping straight down onto the spot you see, and corrosion of stainless or aluminum fasteners enlarges the hole over time.
On many fibreglass boats the deck is built as a sandwich: two laminate skins with a core of balsa, foam or plywood between them. Once water reaches that core through an unsealed hole, it can soften the core, weaken the laminate and corrode the fastener from inside. A leak that looks minor from the deck can therefore cause structural damage below it.
The consequences go beyond cosmetic staining. Transport Canada (2026) stresses that a pleasure craft must be seaworthy before departure and notes that knowingly operating an unseaworthy craft is an offence. A leaking fitting left unattended can become both a safety problem and a compliance problem, which is why a leak should be dealt with as soon as it appears.
How do you find the source of a leak?
Water rarely appears where it enters. It may run along a beam, show up under a headliner, drip from a light fitting or collect in the bilge some distance from the fitting. Start by noting when the water appears: after rain, in heavy spray, or only when the boat heels to one side. That pattern points to the side of the boat where the water is getting in. According to Cruising World (2020), water appearing inside the cabin is a sign that the exterior bedding has likely failed and needs rebedding.
Then test methodically. With one person inside watching the suspect area and another outside, run a garden hose gently over one fitting at a time, starting low and working up, and stop when water appears inside. Avoid pressure washers, which can force water past seals that would otherwise hold. Mark each location and let the area dry before moving on, so you do not confuse one leak with another.
Look for the clues that confirm a failed bed: a gap or dark line between the fitting and the deck, staining or streaking below a fitting, rust tracks from fasteners, and cracked gelcoat around the base. Tap the deck gently around the fitting with the handle of a screwdriver. A dull or hollow sound can indicate delamination or wet core. If the core feels soft, crumbles or looks dark, stop before you tighten any fastener and have a marine surveyor or qualified boatyard assess the area, because loading damaged core can make the problem worse.
Which sealant should you choose?
Three families of sealant come up for deck hardware, and each behaves differently when the fitting has to be removed later.
Polyurethane is the most common choice. It is an adhesive, so fittings bedded in it can be very difficult to remove, sometimes only by cutting. According to Cruising World (2020), many polyurethane formulas lack UV stability, so a UV-inhibited product should be used wherever the bead is exposed. Some teak cleaners and fuels can affect it, and some plastic components prohibit it altogether.
Polysulfide is not an adhesive. It stays flexible for years, is UV-stable and resists most harsh chemicals and fuel, which is why Cruising World (2020) describes it as the author’s preference. It is the better default where the hardware may need to come off later. Cure behaviour varies by product, so read the current data sheet rather than relying on general rules of thumb.
Silicone is flexible and long-lasting, but paint and varnish will not adhere to it. It tends to form ‘fish eyes’ that can persist for years, so keep it away from any surface you plan to paint or varnish, and mask carefully if it is nearby. Where plastic parts rule out polyurethane, polysulfide or silicone are usually the remaining options.
Whichever you choose, check the manufacturer’s compatibility notes for your substrate, whether gelcoat, fibreglass, wood, stainless, aluminum or plastic, and its cure requirements. The official sources consulted do not specify cure times for particular products, so the current manufacturer’s data sheet is the authority on that point.
How do you remove old bedding and clean the surfaces safely?
Before you open anything, ventilate the work area, wear solvent-resistant gloves and eye protection, and keep ignition sources well away. Never work with solvent in a closed cabin without airflow. Solvent-soaked rags left in a pile can heat up and ignite, so spread them flat outdoors to dry or store them in a sealed metal container, and dispose of them through your municipal hazardous waste program rather than the household bin.
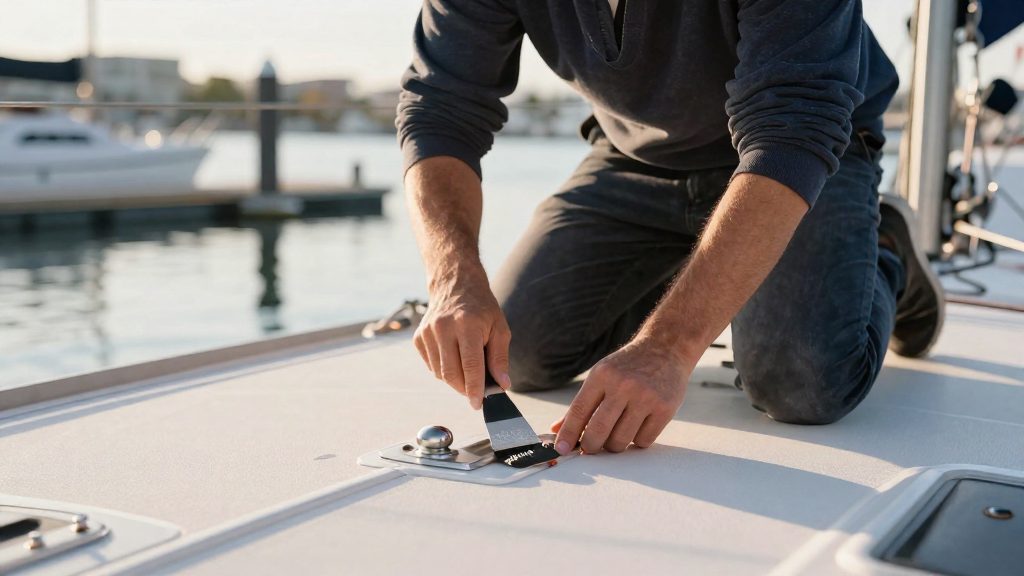
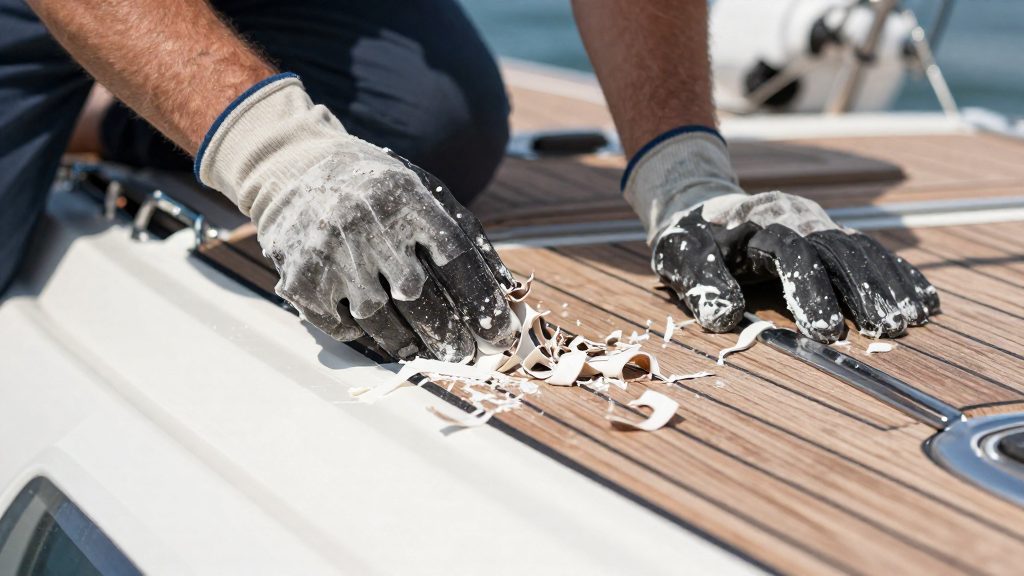
Start by removing the fasteners and supporting the fitting before it is freed. Do not remove chainplates or other rigging-related hardware without a plan for the load they carry; for those, bring in a rigger or other qualified professional. Clear the old bedding with a plastic or wood scraper or a putty knife, since metal tools can gouge gelcoat and fibreglass. Remove bulk squeeze-out first, then take off the residue with solvent-soaked rags.
Use the solvent the sealant manufacturer approves, because the wrong solvent can stop the new sealant from curing fully. According to Cruising World (2020), mineral spirits are preferred, and denatured alcohol and acetone are unnecessary. Never leave solvent-soaked rags on painted or varnished surfaces, and replace rags as soon as they discolour so you do not spread contamination back onto the surface.
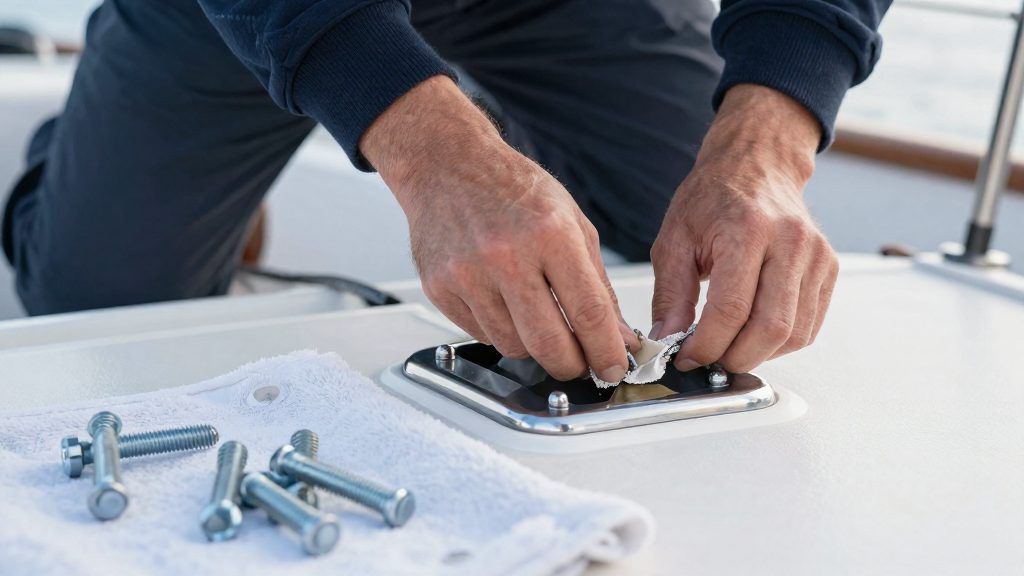
Hardware and fasteners are often coated with wax or oil. To test, wipe new hardware and fasteners with a clean rag dampened with mineral spirits: discolouration on the rag shows contamination. Clean and dewax the surfaces before sanding, so you do not grind the contaminants into them. Sand the bedding area with 180-grit sandpaper to give the sealant a key, including on gelcoat, fibreglass, polished stainless and aluminum. Chamfer the fastener holes in fibreglass and wood so they can hold a reservoir of sealant. Wipe away the dust with solvent, and do not touch the prepared surfaces with bare hands or soiled gloves.
Why must each penetration isolate the core?
Sealant alone should not keep water out of a cored deck, cabin or hull at a penetration. According to Cruising World (2020), each penetration needs a permanent annulus of resin or epoxy mixed with a reinforcing or thickening agent. That annulus isolates the core around the hole and resists crushing when the through-bolts are tightened, which makes it a structural step rather than a cosmetic one.
If the core around a hole is saturated, it must dry out before you rebuild, and that goes beyond a simple reseal. Get a professional assessment before proceeding.
Where a hole has been enlarged, do not simply fill it with bedding. Rebuild it with the epoxy annulus, allow the epoxy to cure fully, and then drill the hole to the correct size. Check the resin manufacturer’s guidance on recoat windows before you bed hardware over the repaired area.
How do you bed and tighten the hardware?
Apply sealant across the whole footprint of the fitting, not just around the fasteners, and coat each fastener shank and the underside of each head. Set the hardware in place and run the fasteners down gradually and evenly, a little at a time across the pattern, so the fitting seats flat and the bedding compresses uniformly.
Then check the perimeter. You want a continuous bead of squeeze-out all the way around the base. A spot with no squeeze-out suggests a void where water can collect, so lift the fitting, add sealant and reseat it. Cruising World (2020) advises bedding hardware and fasteners on the weather side only. On the cabin side, do not put sealant on backing plates, washers or nuts, because trapped water can cause crevice corrosion in stainless fasteners and can work its way into the core.
Tighten the fasteners fully at installation rather than leaving them loose while the sealant cures, because sealant is not meant to carry structural loads. Remove excess squeeze-out with a putty knife before it skins over, then finish with a solvent-soaked rag as described above, taking care not to disturb the bead. Respect the manufacturer’s minimum application temperature and cure schedule before loading or launching the boat. Cold, damp conditions slow curing, so a bead applied on a chilly day may take longer to become fully sound than the label suggests.
When should you reseal before winter?
In Canada, the best window is usually the fall haul-out, when you can inspect the hardware with the boat out of the water and before freezing weather arrives. Water that gets into a fitting over winter can freeze and expand, widening the gap and damaging the core, so a leak left until spring often turns into a larger job.
Plan the work for a stretch of dry, mild days long enough for the sealant to reach the cure the manufacturer specifies. If the cure cannot be completed before the boat is stored, postpone the job to spring rather than sealing in cold, wet conditions.
Before launch, Transport Canada (2026) describes a Pleasure Craft Courtesy Check, carried out free by a trained volunteer, that covers the boat and its safety equipment. The page does not say whether it covers deck bedding, so ask the volunteer to look closely at the fittings you have resealed. If you find a soft core, delamination, cracking around a chainplate or any fitting you cannot remove safely, stop work and bring in a qualified marine professional.
Frequently asked questions
Should I hire a professional to rebed a chainplate?
In most cases it is wise to involve a rigger or other qualified marine professional. Chainplates carry the rig’s load, so removing or rebedding one requires a plan for supporting the mast and the surrounding structure.
Can I reuse the old fasteners?
Only if they are clean, undamaged and free of crevice corrosion or thread damage. Replace any that show pitting, staining or distortion, and check the hardware manufacturer’s specifications for the correct fastener material.
Is the same method used for hatches and ports?
The principles of clean surfaces, the right sealant and core protection still apply. Hatches and ports often rely on gaskets and frame seals that may need replacing rather than rebedding, so follow the manufacturer’s instructions for that hardware.